

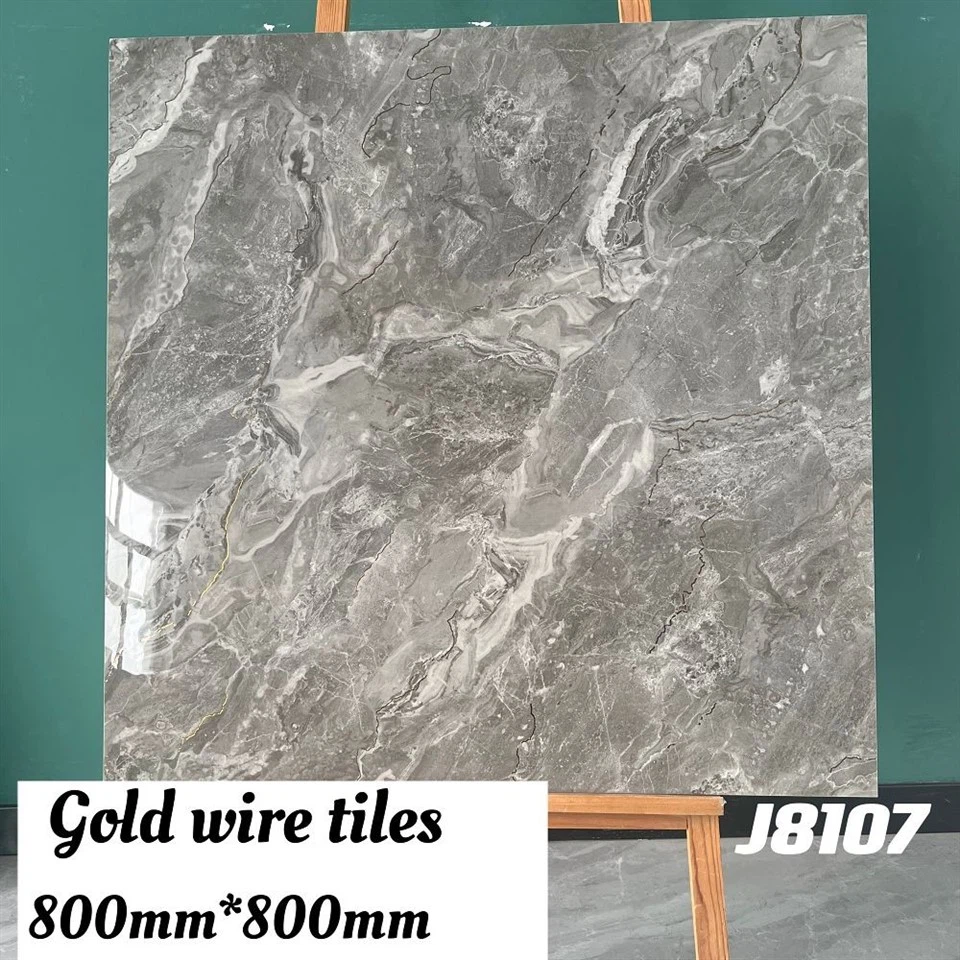
Hey there! As a supplier of Gold Marble Texture Porcelain Tiles, I often get asked about how to measure the area for tile installation. It's a crucial step that can save you time, money, and a whole lot of hassle. So, let's dive right in and break it down.
Why Measuring Area is a Big Deal
First off, why bother with accurate area measurement? Well, if you order too few tiles, you'll have to make another order, which can delay your project and might even result in a color or texture mismatch. On the other hand, ordering too many tiles means you're wasting money on extra materials. Plus, you'll have to figure out what to do with the leftovers. So, getting the measurement right from the start is super important.

Tools You'll Need
Before you start measuring, gather these simple tools:
- Tape Measure: A good-quality tape measure is a must. Make sure it's long enough to measure the longest wall or distance in your room.
- Paper and Pen: You'll need to jot down your measurements as you go.
- Calculator: This will help you do the math quickly and accurately.
Measuring a Simple Rectangular Room
Let's start with the easiest scenario – a rectangular room. Here's how you do it:
- Measure the Length and Width: Use your tape measure to measure the length and width of the room. Measure from one wall to the opposite wall. Make sure to measure at the base of the wall, where the tiles will be installed.
- Write Down the Measurements: Record the length and width on your paper. Let's say the length is 10 feet and the width is 8 feet.
- Calculate the Area: Multiply the length by the width. In our example, 10 feet x 8 feet = 80 square feet. That's the total area of the floor in your rectangular room.
Measuring a Room with Irregular Shapes
Most rooms aren't perfect rectangles. They might have alcoves, bay windows, or other irregularities. Don't worry – you can still measure the area accurately. Here's how:
- Divide the Room into Smaller Shapes: Look at the room and break it down into smaller, regular shapes like rectangles and triangles. For example, if you have an alcove, you can treat it as a separate rectangle.
- Measure Each Shape: Measure the length and width of each rectangle and the base and height of each triangle. Write down the measurements for each shape.
- Calculate the Area of Each Shape:
- Rectangles: Multiply the length by the width, just like we did for the rectangular room.
- Triangles: Multiply the base by the height and then divide by 2. For example, if the base of a triangle is 4 feet and the height is 3 feet, the area is (4 feet x 3 feet) / 2 = 6 square feet.
- Add Up the Areas: Once you've calculated the area of each shape, add them all together to get the total area of the room.
Measuring for Walls
Measuring the area of walls is similar to measuring the floor, but there are a few extra things to consider:
- Measure the Height and Width of Each Wall: Use your tape measure to measure the height from the floor to the ceiling and the width of each wall. Write down the measurements.
- Subtract the Area of Windows and Doors: If there are windows or doors on the wall, measure their height and width and calculate their area. Then subtract the total area of the windows and doors from the area of the wall. For example, if a wall is 8 feet high and 10 feet wide (area = 80 square feet) and there's a window that's 3 feet high and 4 feet wide (area = 12 square feet), the area of the wall to be tiled is 80 square feet - 12 square feet = 68 square feet.
- Add Up the Areas of All the Walls: Once you've calculated the area of each wall, add them together to get the total area of the walls to be tiled.
Accounting for Waste
When you're ordering tiles, it's a good idea to account for waste. This includes tiles that might get damaged during installation, cut pieces that can't be used, and any mistakes you might make. A good rule of thumb is to add 10% to 15% to your total area. So, if your total area is 100 square feet, you should order between 110 and 115 square feet of tiles.
Our Other Great Tile Options
In addition to our amazing Gold Marble Texture Porcelain Tiles, we also offer some other great tile options. Check out our Classic Antique Brick for Exterior Walling and Floor Paving for a rustic and charming look. And if you're looking for something for your living room, our Living Room Imitation Solid Wood WearResistant Floor Tile is a great choice. We also have beautiful 800*800 Gold Mosaic Tiles that can add a touch of luxury to any space.
Contact Us for Your Tile Needs
If you're interested in our Gold Marble Texture Porcelain Tiles or any of our other tile products, we'd love to hear from you. We can help you with your area measurements, answer any questions you might have, and provide you with a quote. Just reach out to us, and we'll get the ball rolling on your tile project.
References
- "Home Improvement Handbook" by DIY Experts
- Online resources on home renovation and tile installation